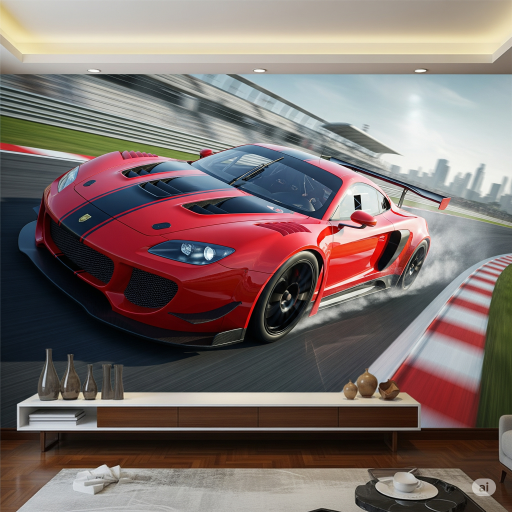
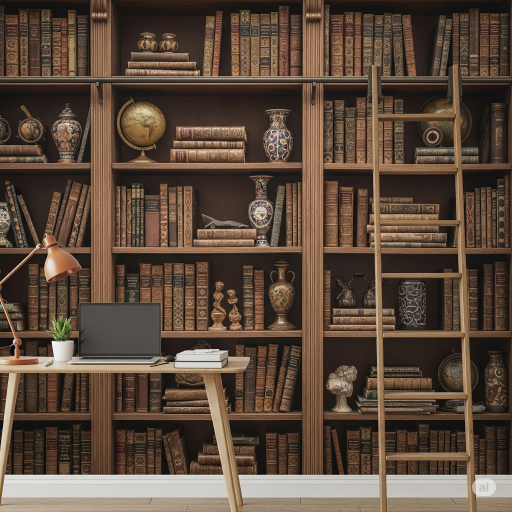
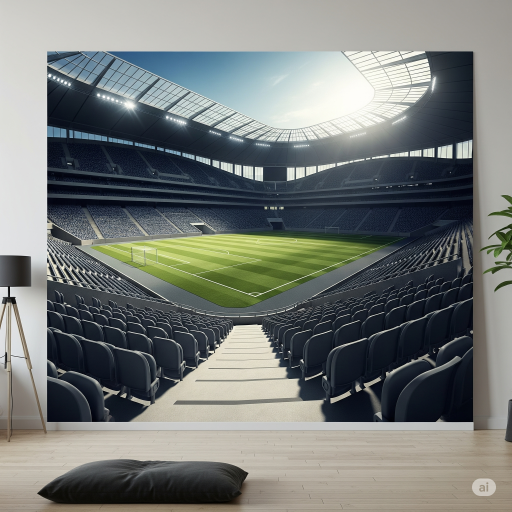
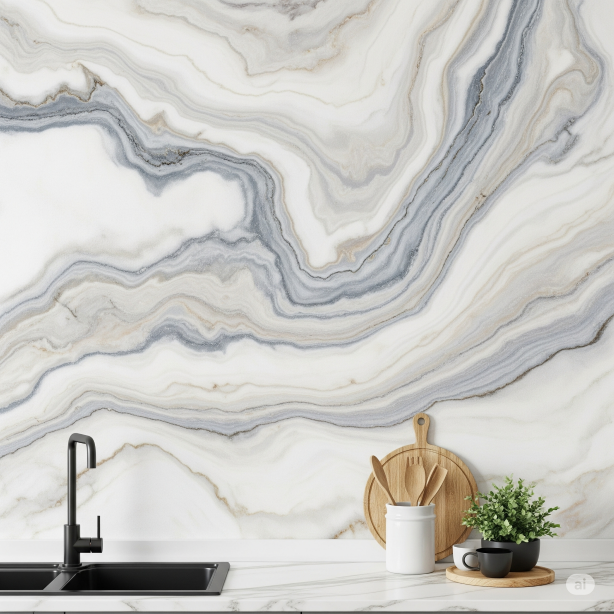
Description
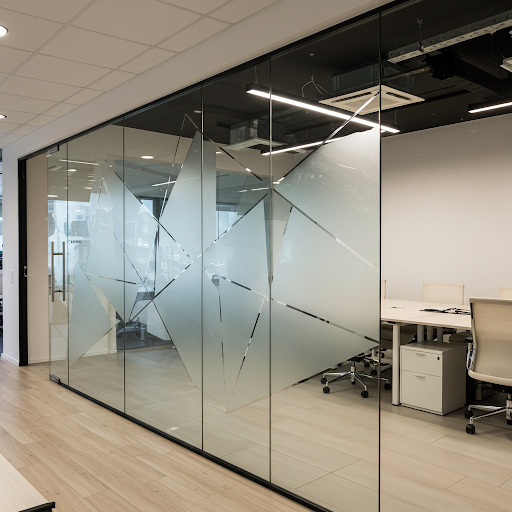
Frosted sticker printing is one of our ways for custom wallpaper printing for glass partition walls.
There are several excellent materials for creating a mural on office glass partition walls, depending on whether you want a permanent or temporary installation.
The most common and flexible option is vinyl film or printed graphics. This material adheres directly to the glass, offering vibrant, full-color designs. Options include opaque vinyl for maximum privacy and image clarity, translucent/frosted vinyl to diffuse light while adding privacy. Or perforated window film, which allows people on the un-muraled side to see through it. Vinyl is relatively durable and can be professionally removed, making it a good semi-permanent choice.
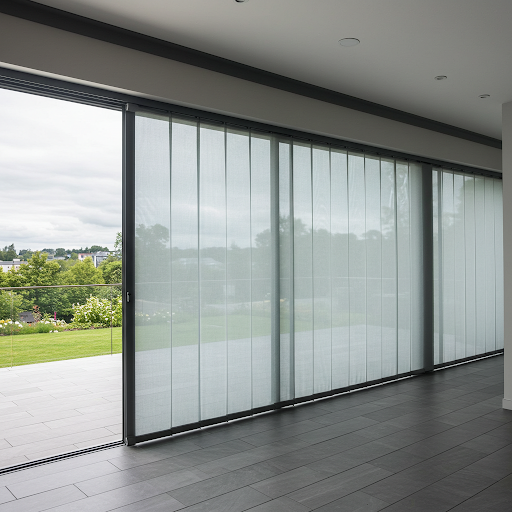
Frosted sticker printing involves creating decals from a specialized semi-translucent adhesive vinyl film. It is designed to mimic the look of acid-etched or sandblasted glass. The effect is a soft, diffused, and milky appearance that blurs vision while still allowing natural light to pass through. This material is typically printed in full color or custom-cut with designs before application to glass surfaces.
Purposes for frosted sticker printing
Frosted stickers serve a dual function of aesthetics and utility, primarily for glass surfaces in commercial and residential settings:
Privacy
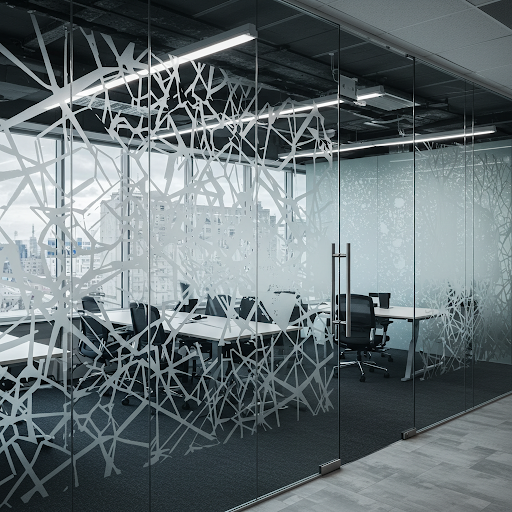
Frosted stickers are primarily used as an elegant and cost-effective alternative to etched glass for maintaining visual privacy. Applied to windows, glass partitions, or doors, the film’s semi-translucent nature effectively obscures the view from both sides. Preventing onlookers from seeing clearly into private or sensitive spaces like conference rooms, private offices, medical examination areas, or bathroom windows. Crucially, they achieve this discretion without sacrificing natural light. This ensures the enclosed area remains bright and comfortable, unlike solid wall dividers or heavy blinds. The balance of light and seclusion is invaluable in modern, open-plan architectural designs.
Branding and Signage
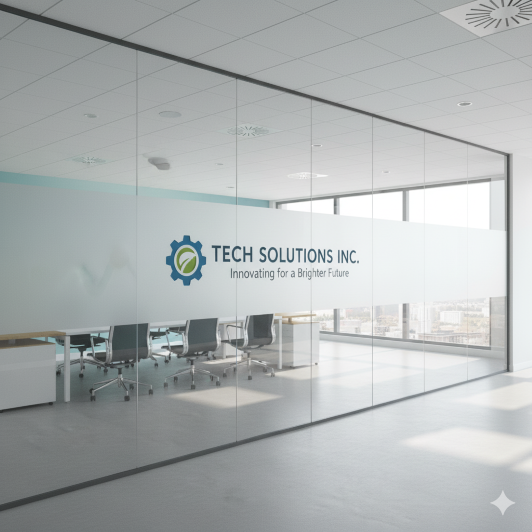
Frosted sticker printing serves as a sophisticated medium for corporate identity and functional signage. Businesses utilize the material to elegantly incorporate their branding elements. These include company logos and core values onto the architectural glass. The stickers can clearly display essential information like department names, room numbers, or operating hours on glass doors and partitions. By plotting a design as a cutout or printing directly onto the film, they reinforce a polished, professional, and unified brand image across the workspace. Turning simple glass into a cohesive part of the corporate environment.
Aesthetics and Decor
Beyond functionality, frosted stickers are a versatile tool for enhancing interior design. They instantly elevate the look of plain glass to convey a modern, high-end, or sophisticated aesthetic akin to expensive custom-etched glass. Designers use full-coverage frost for a sleek finish or apply intricate patterns and textures to create a decorative focal point. From subtle geometric designs in a minimalist office to custom artistic murals in a retail space, these stickers are used to add visual interest. And transform ordinary glass panels into a deliberate and beautiful architectural feature.
Safety (Manifestation)
Frosted sticker printing fulfills a critical safety requirement by acting as glass manifestation markings. Building codes often mandate that large, clear glass panels, such as full-height doors and partitions, must be clearly marked to prevent accidental collision. Frosted sticker printing is used to create these visual indicators. Typically in the form of evenly spaced dots, bands, squares, or continuous stripes. These markings make the glass visible to occupants, ensuring safe navigation through the space. And are placed at specific heights to comply with local accessibility and safety regulations.
Light Control
Frosted stickers contribute to a more comfortable and energy-efficient indoor environment by acting as a passive form of light management. The film’s diffused, semi-opaque nature effectively reduces harsh sunlight glare, eliminating uncomfortable hot spots and reflections on computer screens. This increases visual comfort and employee productivity. Additionally, high-quality frosted films can block a significant percentage of harmful UV rays from entering the space. This protection helps reduce premature fading of interior furniture, carpets, and artwork, extending the lifespan of interior assets.
Frosted Sticker Printing Designs
Custom frosted stickers offer high customization and flexibility in design:
Plotter Cut/Standard Cut
This method uses a vinyl plotter to precisely cut out the desired design—such as a company logo, text, or geometric pattern—from a solid sheet of frosted film. The surrounding frosted material is left intact and applied to the glass. This technique creates a “see-through” window effect where the cut-out elements are transparent, allowing clear vision through the design itself. The remaining frosted film then frames these clear areas, maximizing privacy while subtly integrating branding into the glass partition.
Reverse Cut/Printed Designs
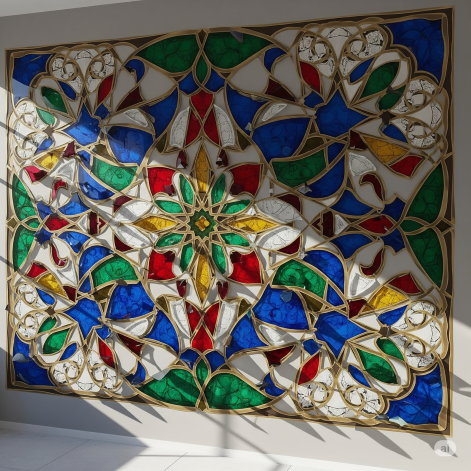
This category covers two distinct approaches. A Reverse Cut is achieved when the design elements (e.g., letters) are the only parts of the frosted film removed, leaving a clear glass space defined by the remaining frosted border. Conversely, Printed Designs involve directly applying full-color inks onto the frosted vinyl material. This allows for rich, detailed graphics, full-color logos, or photographic images to be displayed prominently against the diffused, semi-translucent background. Offering vivid branding while the frosted material maintains a degree of privacy.
Contour Cut
The Contour Cut technique, also known as die-cutting, is a specialized finishing process that elevates the aesthetic quality of a frosted sticker. This method involves using a digital cutting machine to follow the precise perimeter and unique shape of the artwork. Rather than just a simple square or rectangular border.
This is critical for complex logos, detailed silhouettes, or intricate custom shapes. When the resulting decal is applied to glass, it presents as a single, perfectly formed piece. Effectively eliminating all surrounding excess vinyl material or a visible, unflattering background. This meticulous cutting ensures a highly professional, customized appearance that integrates the design seamlessly into the glass surface without a defined border or backing.
Gradient
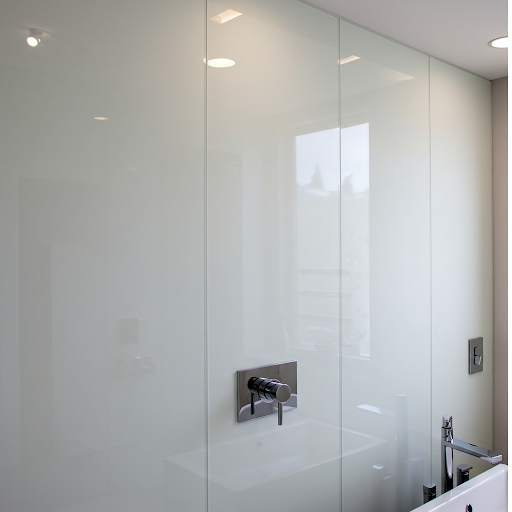
Gradient designs offer a sophisticated transition of opacity, creating a visually appealing fade. These stickers typically transition smoothly from a fully frosted section to a completely clear section, or from a dense frost to a lighter-frosted texture. The effect is often horizontal or vertical, providing privacy in the densely frosted area (like the lower half of a window) while allowing more light or visibility toward the clearer section. This technique is popular in modern office spaces for partial privacy, adding a subtle, dynamic flair that avoids a stark, abrupt visual break on the glass.
Decorative Patterns
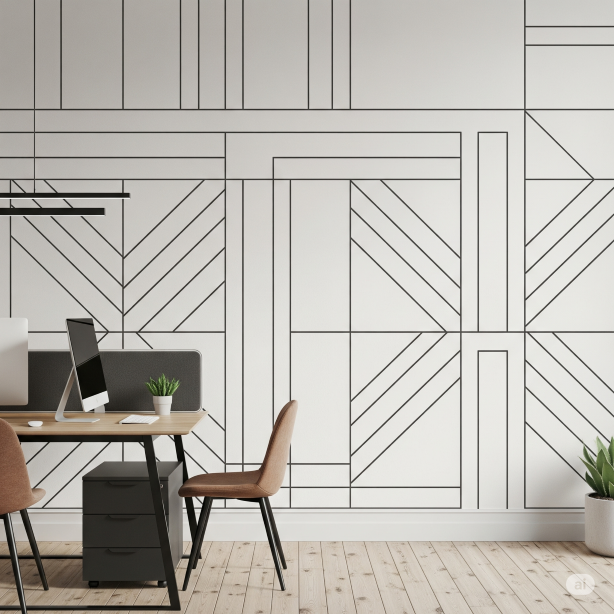
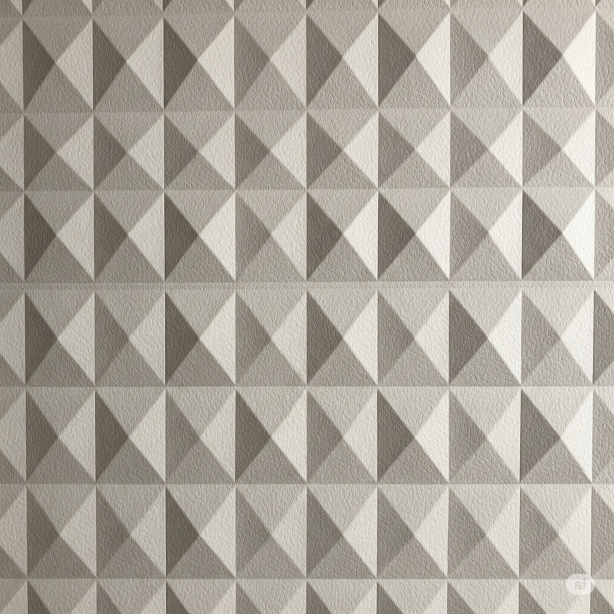
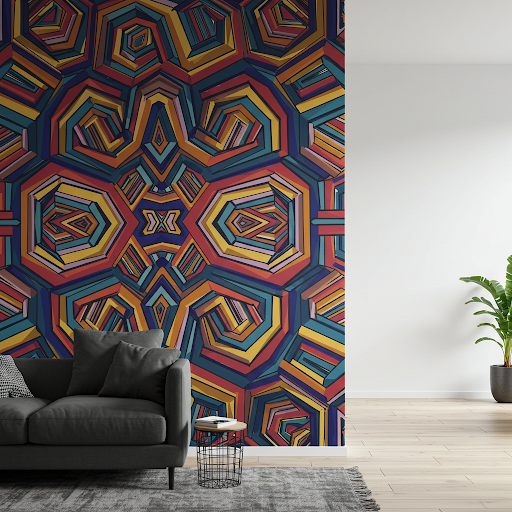
The decorative patterns application uses repeating or continuous elements to achieve a specific architectural or ornamental look. Decorative patterns commonly feature simple geometric shapes (such as stripes, bands, squares, or dots), intricate scrollwork, or natural motifs like floral designs. The purpose is two-fold. That is to provide consistent partial privacy and to enhance the glass’s aesthetic value. These patterns can be custom-scaled and repeated across large glass surfaces, transforming plain partitions into visually engaging features that complement the interior design scheme.
Frosted sticker printing process
The frosted sticker printing process is a specialized procedure with two main phases: production and installation.
Production
Design & Preparation
This initial step is crucial for ensuring a flawless final product. The client either supplies ready-to-print vector files or collaborates with a designer to finalize the custom artwork (e.g., logo, text, or pattern). Concurrently, precise measurements of the intended glass area (window, partition, or door) are taken. This ensures the design is accurately scaled and correctly positioned, and that the film material is cut to match the glass dimensions perfectly, leaving no gaps and allowing for seamless, professional placement.
Printing/Cutting
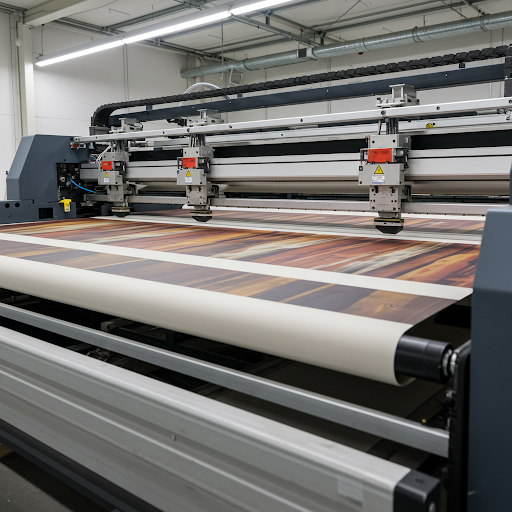
The printing/cutting stage dictates the final visual appearance of the frosted sticker. The choice of technique is driven by the complexity and color needs of the design. When the artwork requires vibrant colors, photographic quality, or intricate full-spectrum graphics, the film undergoes digital printing. Large-format industrial printers apply the design directly onto the frosted vinyl using durable, weather-resistant UV-cured or eco-solvent inks, which cure rapidly for longevity.
Conversely, for logos, lettering, or patterns where the frosted effect alone is the primary design feature, a high-precision vinyl plotter machine is employed. This plotter uses a sharp blade to accurately cut the contours of the design from the unprinted film. After cutting, the material is weeded. This leaves either the design itself or a clear cut-out (reverse cut) defined by the remaining frosted border.
Weeding & Masking
After the printing or cutting is complete, the crucial finishing steps begin. Weeding involves carefully removing all the excess or unwanted vinyl material—such as the negative space surrounding a logo or the interior sections of letters—to reveal the final design shape. Then, a sheet of clear application tape (or transfer tape) is precisely applied over the remaining decal. This tape holds all the separate design pieces, including small text elements, together in their exact layout, preparing the design for simple, one-step transfer to the glass.
Installation (Wet Application)
Cleaning
Installation begins with meticulous preparation of the glass surface, as any trapped contaminants will create visible imperfections. The area must be thoroughly scrubbed using an appropriate, non-abrasive cleaner (avoiding harsh chemicals that could react with the adhesive) to remove all dirt, dust, grease, and residue. A razor blade may be used to scrape off stubborn spots, followed by a final wipe with a lint-free cloth. A perfectly clean glass is paramount for ensuring the sticker adheres smoothly and fully for a professional finish.
Wetting
Once the glass is clean, it is generously sprayed with a simple application solution. This solution is typically plain water mixed with a few drops of mild liquid soap or baby shampoo. The purpose of this soapy film is critical: it prevents the sticker’s aggressive adhesive from bonding instantly upon contact. This wet layer provides a temporary cushion, making the glass extremely slippery and allowing the installer sufficient time to precisely slide and reposition the film into its correct, final alignment before the adhesive takes hold.
Application
With the glass wet, the sticker is ready for transfer. The installer carefully peels the backing paper away from the vinyl, exposing the adhesive side. The application tape (which holds the design) is then guided to the glass and the film is gently laid onto the wet surface. The presence of the soapy water cushion is essential at this stage. Because it allows the decal to be easily maneuvered and adjusted—pushed up, down, left, or right—until the design is positioned with perfect accuracy.
Squeegeeing
This is the step where the sticker is permanently set. Using a rubber or plastic squeegee, the installer applies firm, even pressure. Starting from the center of the design and working outward to the edges. This action forces the soapy water solution and any trapped air bubbles out from beneath the film. Overlapping strokes are used repeatedly across the entire surface to ensure complete contact between the film’s adhesive and the glass. Thus securing a smooth, flat, and professional bond free of imperfections.
Finishing
The final phase involves curing and unveiling the design. The sticker is allowed a setting period, usually around 24 hours, during which the residual moisture evaporates and the adhesive cures to the glass. Once dry, the outer application tape (which served as the transfer mask) is carefully peeled away at a shallow angle. This reveals the final, professionally adhered frosted vinyl design, which now provides the intended privacy and aesthetic effect.
Frosted sticker glass wall mural printing
Frosted film glass wall mural printing refers to the process of creating large-scale, custom, full-color graphic installations on self-adhesive frosted vinyl. They are specifically designed for application onto glass walls, windows, and partitions to act as a permanent decorative or informational mural.
This technique combines high-quality digital printing of an image with the functional, light-diffusing properties of architectural frosted film.
Key Characteristics
Size
Unlike small decals, these are typically large-format prints that cover a significant portion, or the entirety, of a glass wall, creating a cohesive mural.
Material
The substrate is a durable, semi-translucent frosted vinyl (often a polymer or PVC film) that allows natural light to filter through while still blurring visibility.
Aesthetic Effect
It transforms clear glass into a striking feature wall with the image appearing on a soft, etched-glass background, balancing vibrant visuals with privacy.
Purposes and Uses
Immersive Branding
Companies use these murals to display high-resolution, full-color corporate imagery, mission statements, or large logos across office partitions, turning branding into sophisticated interior art.
Architectural Art
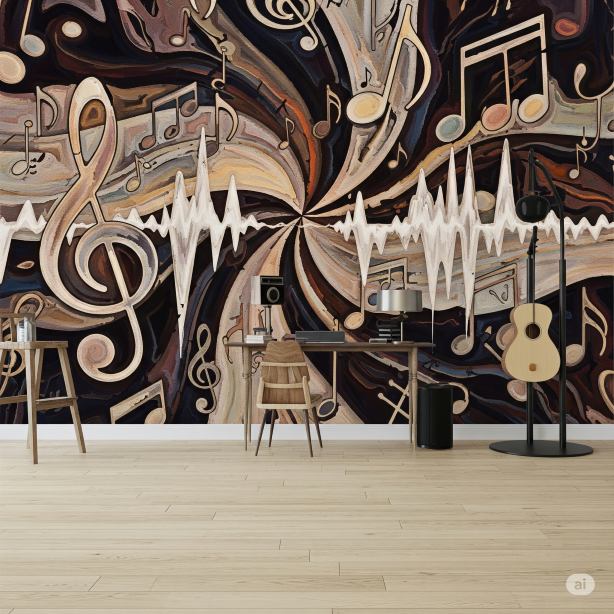
To introduce custom artistic scenery, landscapes, patterns, or graphic designs to interior glass, creating visual warmth and a sense of depth in large, open spaces.
Enhanced Privacy with Color
It provides the privacy benefits of standard frosted film but with the added dimension of color and detailed imagery, perfect for conference rooms or medical offices.
Wayfinding/Theming
To theme entire wings of a building (e.g., using natural scenes in a breakroom or historical maps in an entryway) or for large-scale directional signage.
Production Process
High-Resolution Printing
The mural design is printed onto the frosted film using large-format, high-resolution digital printers with UV-cured or eco-solvent inks to ensure vivid colors and scratch-resistance.
Panelling
Due to the large size of a wall mural, the image is often segmented into perfectly aligned vertical panels or sections.
Wet Installation
The mural is applied to the glass using the wet application method (water and soap solution). This method is crucial for large installations as it allows the installers to precisely align the large panels and eliminate bubbles for a seamless, wall-to-wall finish.

